
The Art of Wood Drying: Using Our Solar Kiln
Wood drying is a crucial step in woodworking, ensuring that the material is stable, durable, and ready for crafting. One of the most efficient and environmentally friendly methods for drying wood is using a solar kiln. You can check out our blog post, Constructing a Solar Kiln, to read about how we built the one that we use on our farm. In this post, we'll walk you through our process of drying wood to achieve high-quality results.
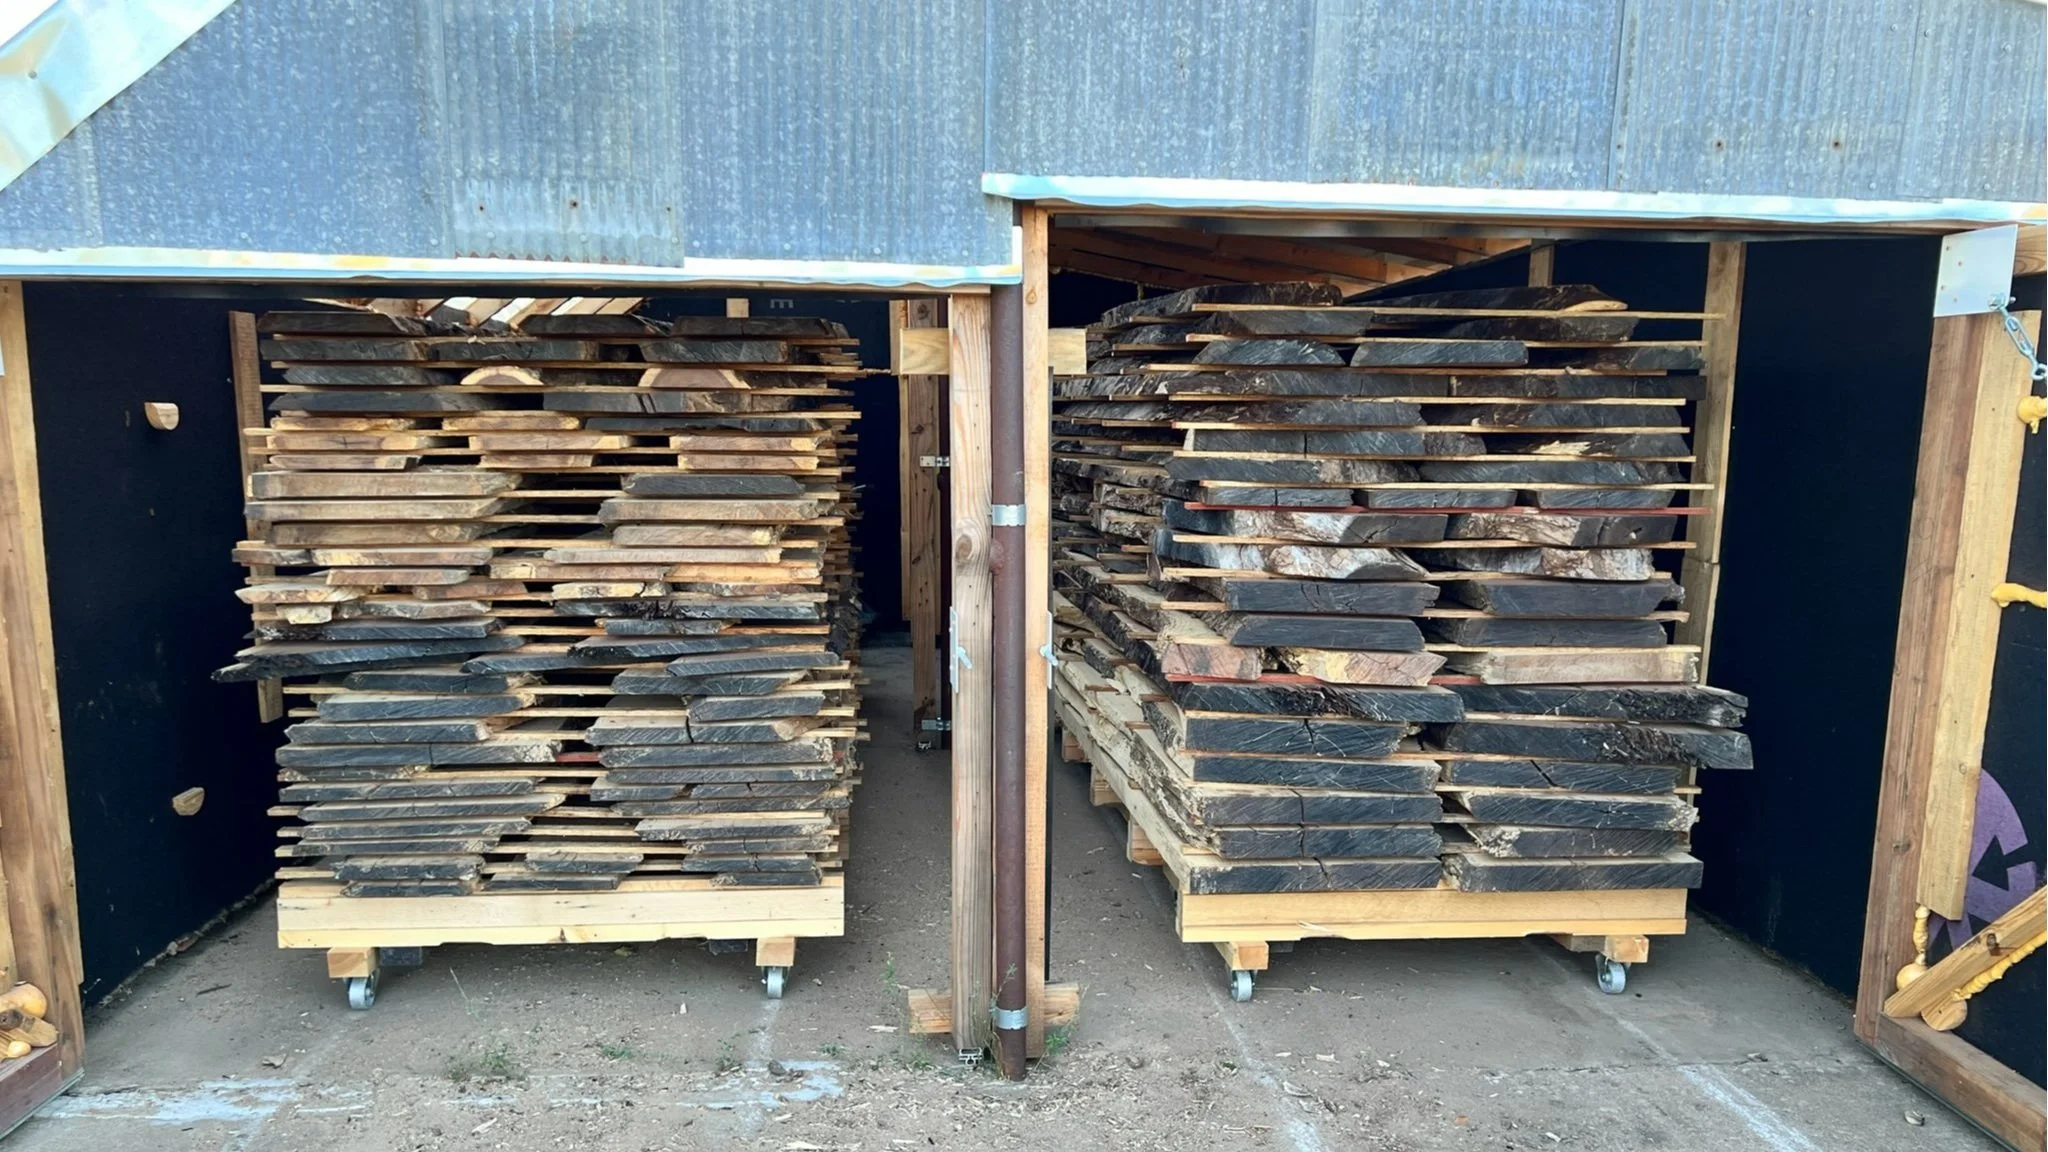
Building the Foundation: Stacking the Wood
The first step in our wood drying process involves carefully stacking the wood onto self-constructed carts equipped with heavy-duty casters. These carts are essential so that we can stack lumber onto the carts outside of the kiln where we have more room to move around. And then we roll the carts into the kiln once they are full.

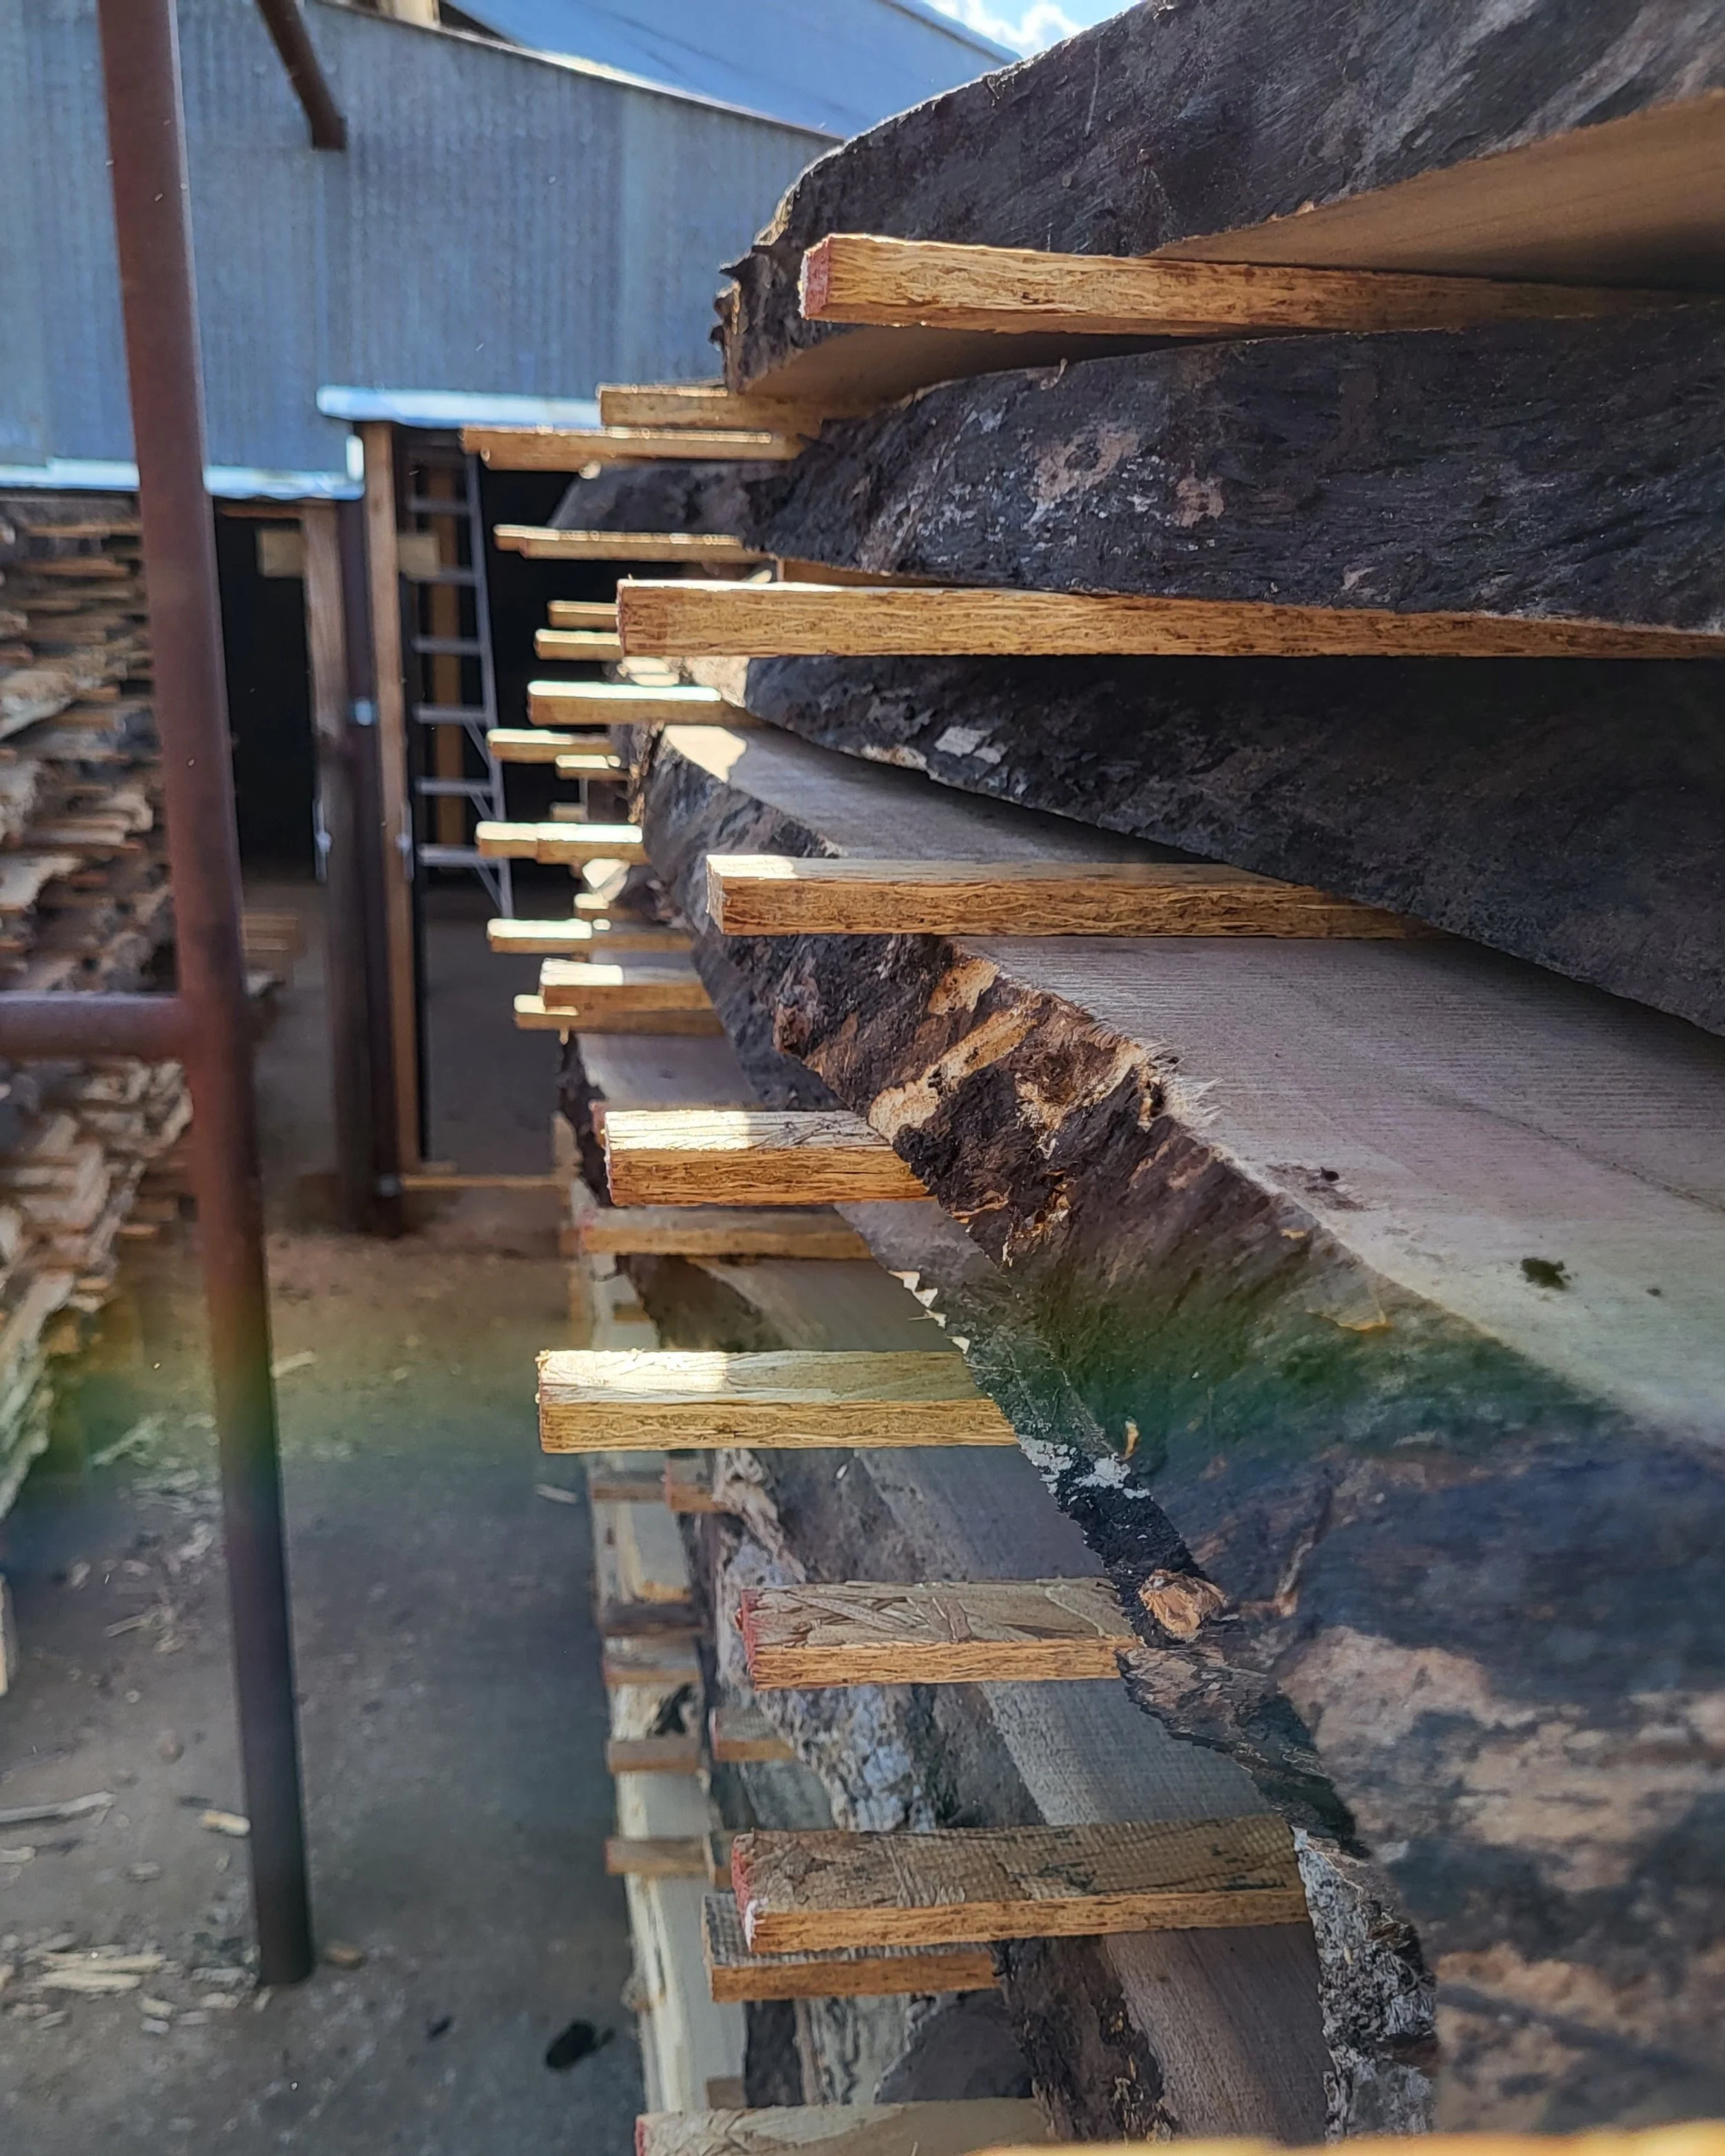
Airflow is Key: Using Stickers
To ensure even drying, we place stickers (thin strips of wood) between each layer of lumber. This setup allows air to flow freely through each individual piece of wood. Without proper airflow, the inner layers of the wood pile would remain wet while the outer layers dry, leading to splits and warping due to uneven drying.
Entering the Kiln: The Setup
Once the wood is properly stacked and stickered, we move the carts into the kiln. Our kiln features a unique setup with a front stack and a back stack, optimizing the drying process.
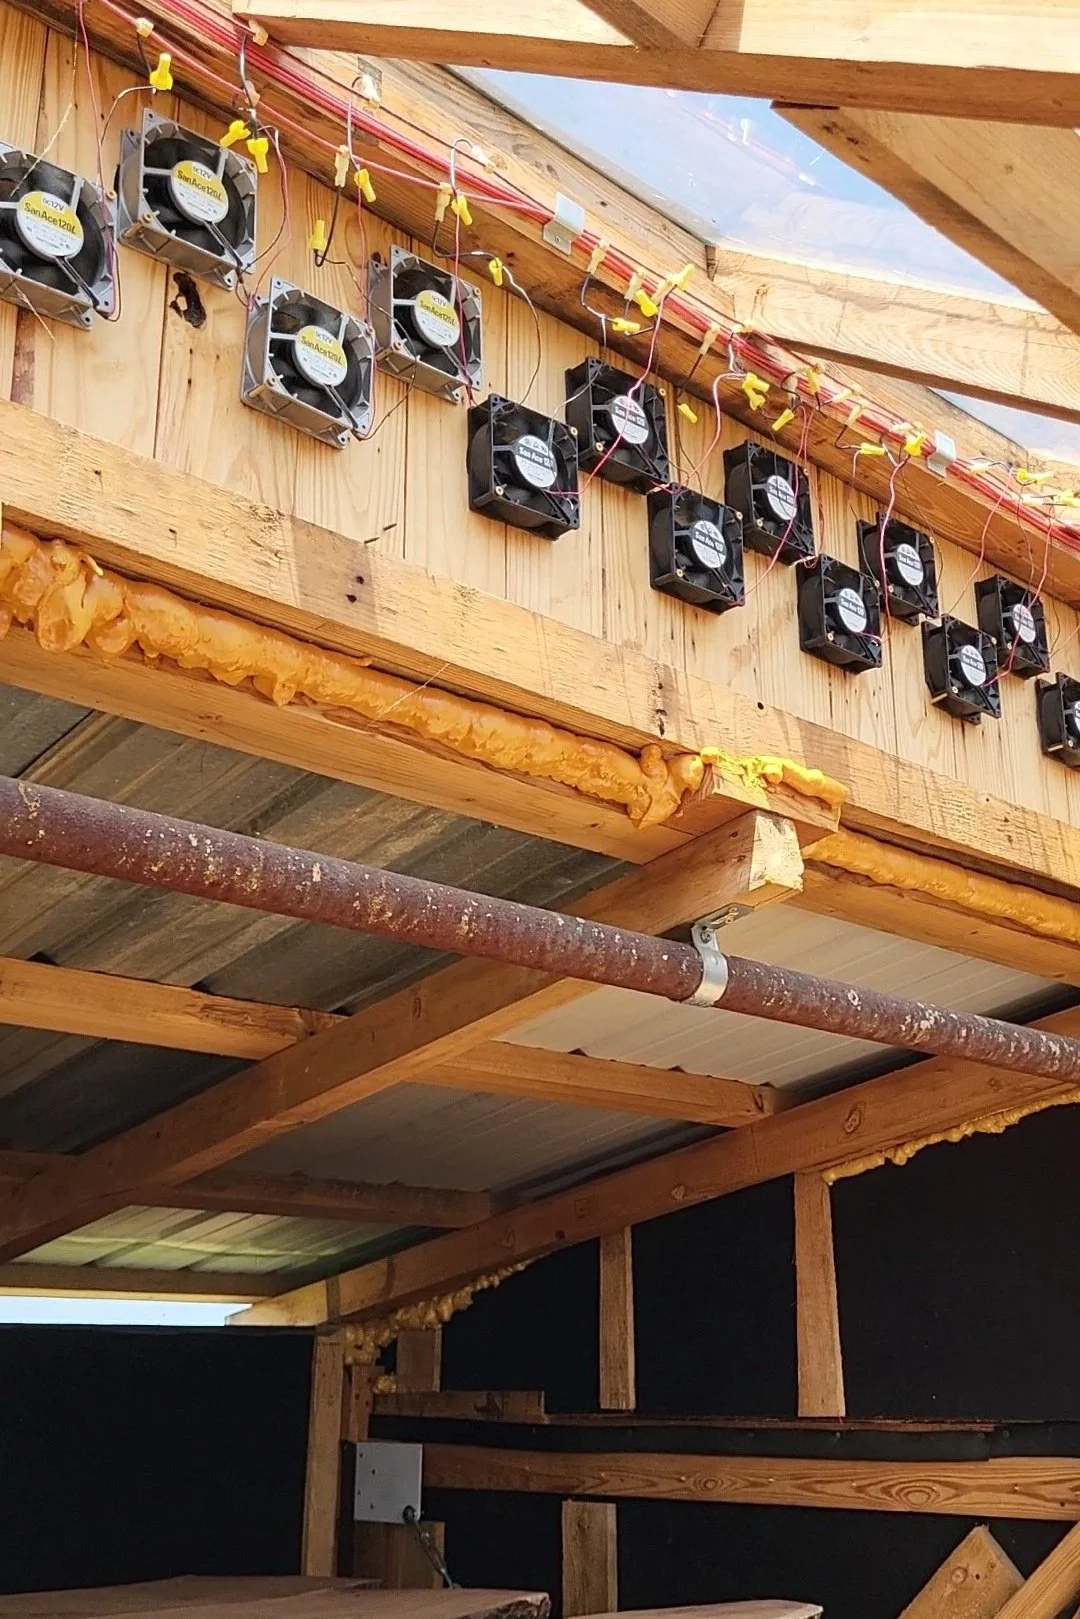
Harnessing Solar Power: The Kiln's Roof and Panels
The kiln's roof is designed with clear material to let sunlight in, warming the air inside. The solar panels power the fans located at the top of the kiln. These fans capture the warm air at the top portion and circulate it effectively throughout the kiln.

Creating the Airflow Loop
To maximize efficiency, we have a baffle placed between the two stacks of wood. This divider is positioned about twelve inches above the ground which allows air to move through that open space along the ground. This design allows air to pass through the front stack but then forces the air to move underneath the baffle to then reach the back stack.
How It Works: The Airflow Path
Warm air rises to the top of the kiln.
The fans blow this warm air downwards.
The air moves through the front stack of wood.
It then passes underneath the baffle to the back stack.
The air moves through the layers of wood in the back stack.
Finally, the air escapes through vents at the back of the kiln.
This loop ensures that warm air flows evenly around and through each piece of lumber, drying it uniformly.
The Result: High-Quality Lumber
By harnessing the power of the sun and ensuring consistent airflow, our solar kiln produces evenly dried wood. This method prevents the common issues of splits and warping, resulting in high-quality lumber ready for any woodworking project.
